How to use maderotherapy tools and how to carry out maderotherapy yourself?
Master the art of maderotherapy for toned, cellulite-free skin - at home or in a beauty salon.
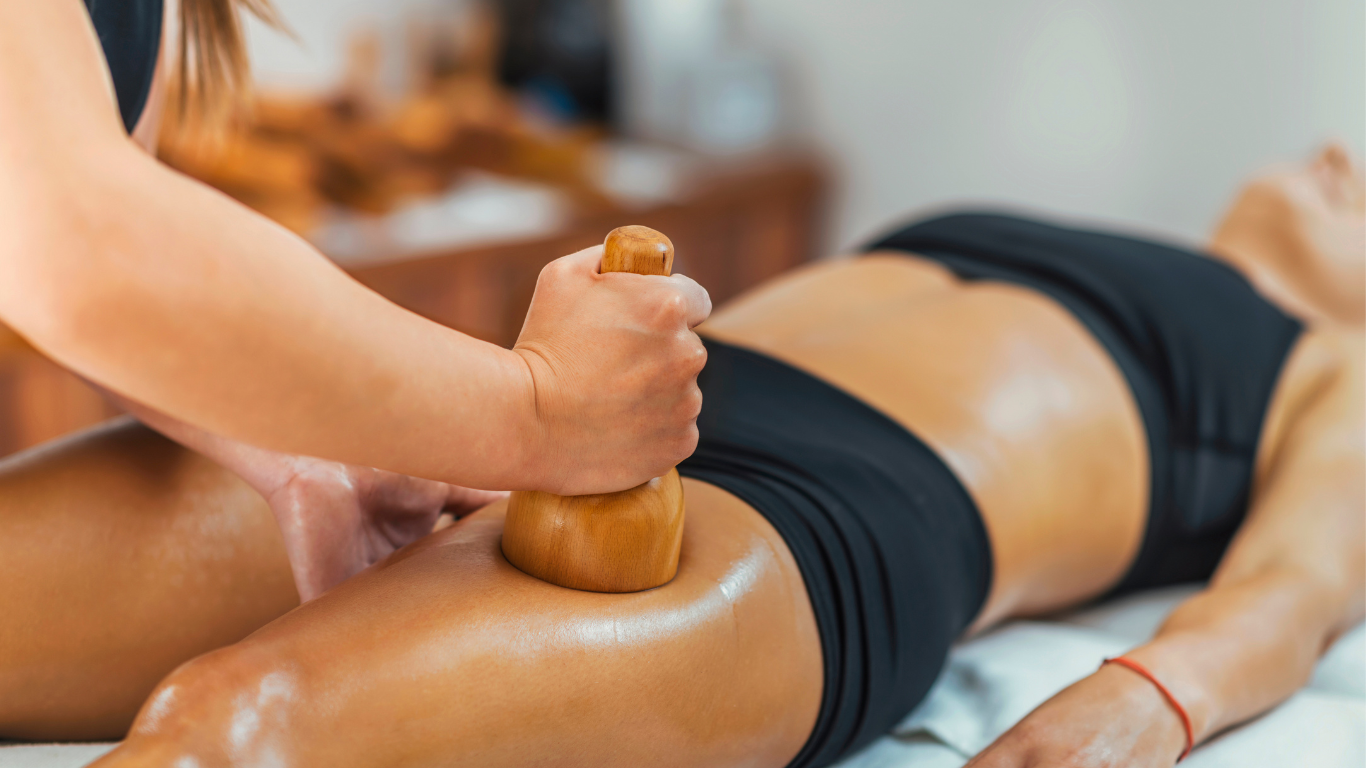
🪵You're wondering how to use maderotherapy tools and how to do maderotherapy yourself ? The good news is that this ancestral technique, which originated in Colombia, is completely accessible at home, as long as you follow the correct order of tools and basic gestures.
Maderotherapy is based on the use of wooden tools to massage the tissues deeply, stimulate lymphatic circulation and encourage the elimination of toxins. It is part of a global approach to bodily well-being that complements a healthy lifestyle. Find out more about the best use of each instrument below - both at home and in institutes.
Maderotherapy is a body massage technique originating in Colombia, using carved wooden tools to work the tissues in depth. Its name comes from the Spanish madera, which means «wood».
It works on several levels: it stimulates the lymphatic circulation, reduces cellulite, The lymphatic system plays a key role in eliminating waste products from the body. The lymphatic system plays a key role in eliminating waste from the body - which is why stimulating the lymphatic system is so important. lymph nodes before and during the session is a fundamental step in the protocol.
When practised regularly, maderoetherapy offers visible results in terms of body reshaping, drainage and toning - without the use of chemicals or electronic devices.
Good preparation is key to an effective session. Here are the steps to follow before you start:
- →Sit down in a quiet place, heated room preferably to relax muscles
- →Apply a vegetable oil (sweet almond, jojoba, coconut...) possibly enriched with draining essential oils (grapefruit, cypress, lemon)
- →Manually stimulate the lymph nodes (groin, popliteal fossa) using gentle circular movements before beginning
- →Optional: make a peeling (fine salt or sugar + oil) on the areas to be treated to prepare the skin, then rinse with a hot towel
1 The mushroom
To use first, Its rounded shape makes it particularly suitable for large areas such as the back, thighs and arms. Its rounded shape makes it particularly suitable for large areas such as the back, thighs and arms.
- →Press firmly to heat the skin and prepare the tissues
- →Stimulates micro-circulation and oxygenates the cells
- →Tones the skin on arms, legs and back
2 The modelling board
Intermediate finishing and drainage tool, to be used between each tool. Press the bottom up varying the pressure according to the area and your tolerance.
- →Stimulates blood and lymph circulation
- →Smoothes out dislodged toxins towards the lymph nodes - ideal for thighs, stomach and back
- →Even more effective than rollers for sculpting and smoothing fabrics
3 Ribbed & curved rollers
Your allies in the fight against dimpled skin. The ridged roller activates and warms the skin; the curved roller moulds to sculpt delicate areas (hips, arms, stomach). Roll on vertically with varying intensity and speed.
- →Start light and gradually increase the pressure as your tolerance allows
- →Upward and downward movements to promote lymphatic drainage
- →Breaks down fatty deposits and improves skin texture deep down
4 The cube roller:
Made up of a number of wooden blocks, it offers a intense, invigorating stimulation, particularly effective on localised fat. The characteristic gesture: a dynamic upward movement of the wrist, repeated and energetic - like accelerating on a motorbike.
- →The cubes hit fatty deposits to break them down efficiently
- →Powerfully stimulates local circulation
- →Intense draining effect on targeted areas
5 The Swedish cut
Inspired by suction massage, the wooden Swedish cup creates targeted suction to remove cellulite and drain toxins deep down. Press lightly to create a suction effect and always work from the bottom up.
- →Hold for a few minutes on each spot, using slow, circular movements
- →Smoothes the skin and improves its texture over time
- →Deeply massages adipose tissue for optimum drainage
Manual toning massage to activate lymphatic circulation and prepare tissues for in-depth work.
Warms the skin and prepares the tissues. Use broad, circular movements over all areas.
In-depth reshaping. Alternate rollers and planks for each area worked on.
Breaks down localised fat, then smoothes and drains with the board.
Drain toxins and smooth the skin deep down. Cupping effect, always from the bottom up.
Sculpt contours and firm tissues. Firm, upward movements all over the body.
2 to 3 sessions a week minimum for visible, lasting results. Consistency is the key.
Apply a natural oil before the session to facilitate gliding and optimise penetration of the active ingredients.
Drink plenty of fluids before, during and after each session to help eliminate the toxins mobilised.
Pass a frozen bottle up and down the body after the session to stimulate circulation and combat water retention.
A balanced diet and regular exercise amplify and sustain the effects of maderotherapy.
Always finish with a manual massage of the treated area, pressing firmly from bottom to top to maximise results.
Maderotherapy is a natural technique that requires patience and perseverance. Be consistent in your efforts and you will see visible results on your skin, week after week.
To master each gesture, duration, pressure and complete protocols for each zone, discover our detailed professional guides:
Similar Posts
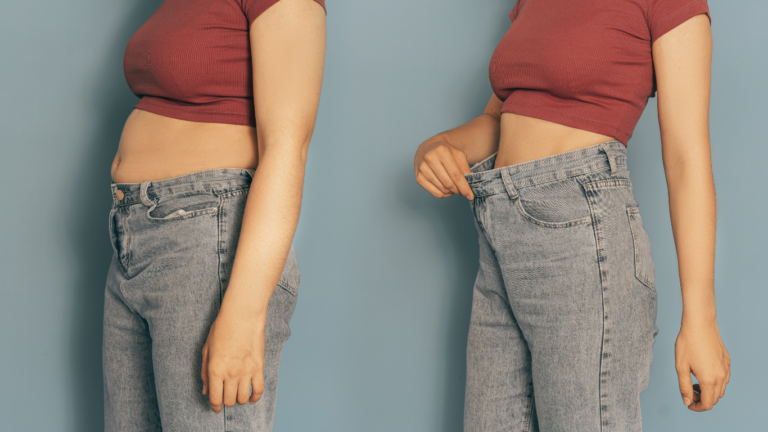
Maderotherapy before/after
Maderotherapy has many benefits that affect various aspects of aesthetic, physical and emotional well-being. It acts effectively on...
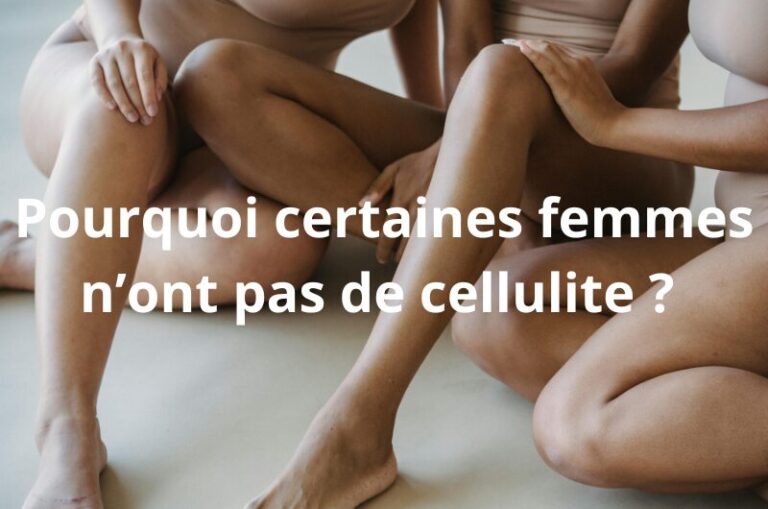
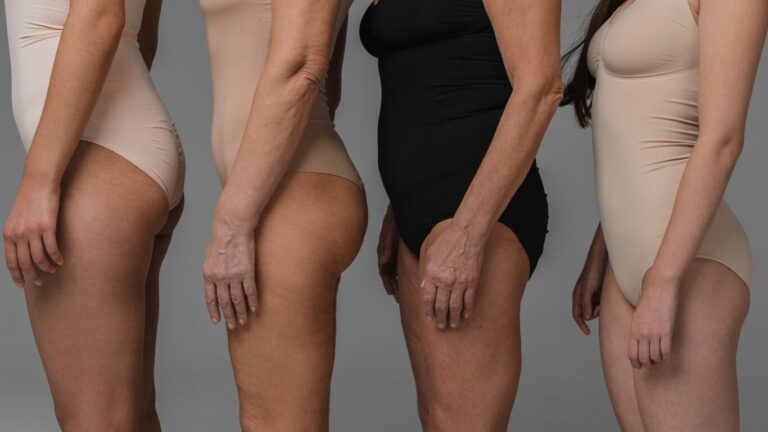
Cellulite: why do some women not have cellulite? Ethnic, genetic and cultural deciphering
Cellulite, also known as superficial lipodystrophy, affects more than 85 % of women after puberty, regardless of their weight...
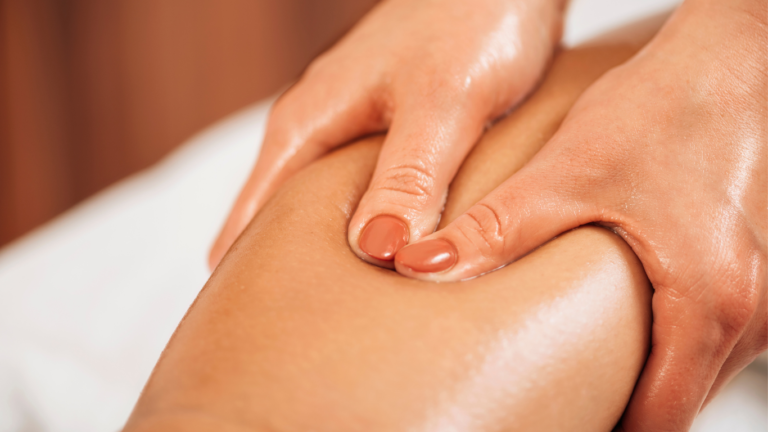
How do I do lymphatic drainage at home? What you need to know in 2025
Lymphatic drainage is a gentle massage technique designed to stimulate the circulation of lymph, the fluid that...
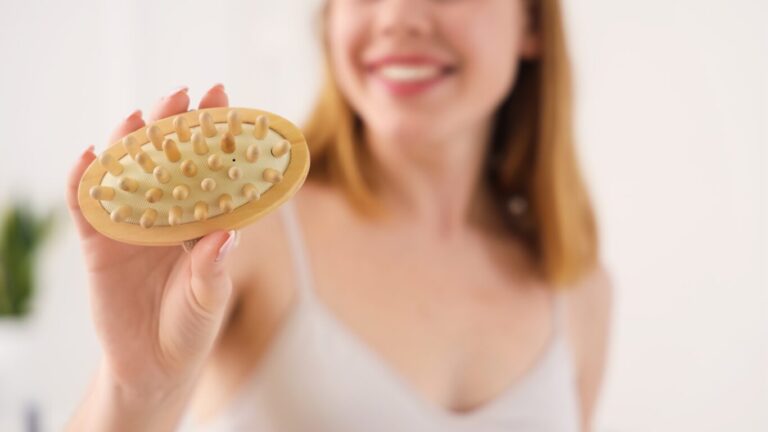
Wooden anti-cellulite brush: naturally effective
Cellulite and the Importance of Lymphatic Drainage Cellulite is a common aesthetic concern, affecting many people and having an impact on...
Jade roller or Gua Sha: Two tools, one quest for radiant skin
In the subtle art of facial care, certain tools derived from ancient Chinese medicine promise not only to enhance your skin, but also to...
How do you remove cellulite from the buttocks and thighs?
Cellulite is a common aesthetic concern that affects a large number of women. It generally appears on the...